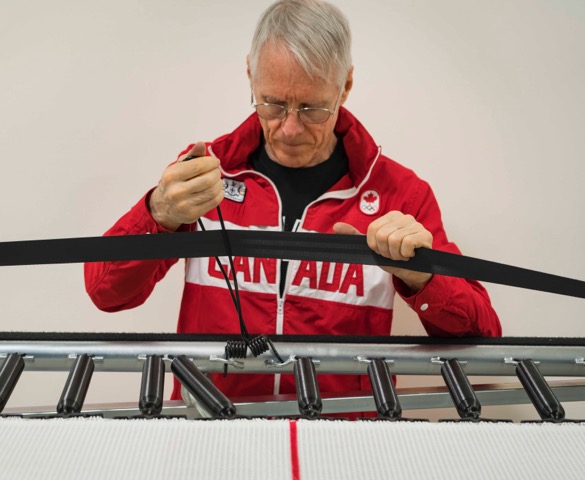
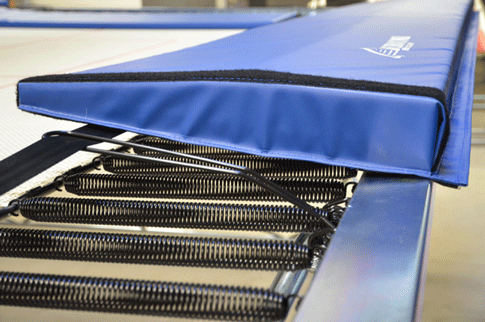
Learn how to install pads lifters and frame pads
Pad Lifter System
The pad lifter system should be installed after the bed and springs have been installed.
The first step is to put the webbing system on top of the springs and put one small lifter webbing spring between the metal rings and the chain link welded on the inside corner of the frame in each of the four corners. (These are the 6” long small diameter silver springs.) When installing these springs use a spare spring as a handle so they do not get over-stretched during installation. These lifter webbing springs can be left off at two adjacent corners until the lifters are installed to make that step easier.
The next step is to put the pad lifters around the webbing and onto the frame. Around the webbing means one arm of the lifter above the webbing and one arm below. There should be 10 pad lifters per trampoline, two on each end, and three on each side. On the ends the lifters should be placed between the two leg braces in each corner. The idea is to place them as near to the corners as possible to reduce wear. On the sides of the trampoline the middlemost lifter has to be placed a bit to one side to avoid hitting the roller stand sleeves on the frame. The remaining four lifters are placed near the hinges on the wings of the frame. Silver lifters should be placed on the frame with one spring attachment point in between were the two arms are attached to the frame. (Black pad lifters are attached to adjacent spring attachment points as the angle is built into the lifter arms.)

Frame Pads
Care should be taken when opening the bags with the frame pads, if these bags have to be re-used
If the frames have no Velcro on them, then there should be matching adhesive Velcro on the frame pads which can be put on the top and the bottom of the oval frame, centered on the oval tubing. The Velcro should not be on the hinges, so stop at the weld marks.
Once the Velcro is on the frames the pads should be attached as follows…
1) Put the end pads on by attaching one small lifter webbing spring from the webbing to the chain link on the inside corner of the trampoline frame. Keep the Velcro away from the frame to allow the springs to center the frame pad, and then press the pad down onto the top frame Velcro ensuring the end of the pad reaches overlaps the end of the frame by about 1/4 inch (7mm).
Check that the inside edge of the end pads are properly aligned with sides of the trampoline bed. Then wrap the flap on the outside of the pads onto the underside Velcro.
2) Lay out the remaining pads on the ground or on the trampoline bed so the pattern can be seen. One straight pad and two corner pads comprise each side. However the corner pads are two short and two long. The longer two should say “fold first” on them.
The long ones and the short ones should go opposite each other, across the trampoline. If the pads are pre-assembled with the vinyl-Velcro joiners into two full side pads it will be easier to properly center them on each side. Note that the frames should have some masking tape to denote the fold first end of the frame.

Leave the masking tape on the frame. If there is no masking tape label to denote the fold first end of the frame, this is the end without clasps on the leg chains. Once the pads are centered properly they may be attached, again making sure that the padding extends slightly past the edges of the frame.
To fold up the trampoline only the straight center pads on each side need to be removed. They should be placed widthwise on the bed so they are stored inside the trampoline.

